Use Cases
Docs
Blog Articles
BlogResources
Pricing
PricingHow to process streaming data using Google Colab or Jupyter Notebook

Technologist, InfinyOn

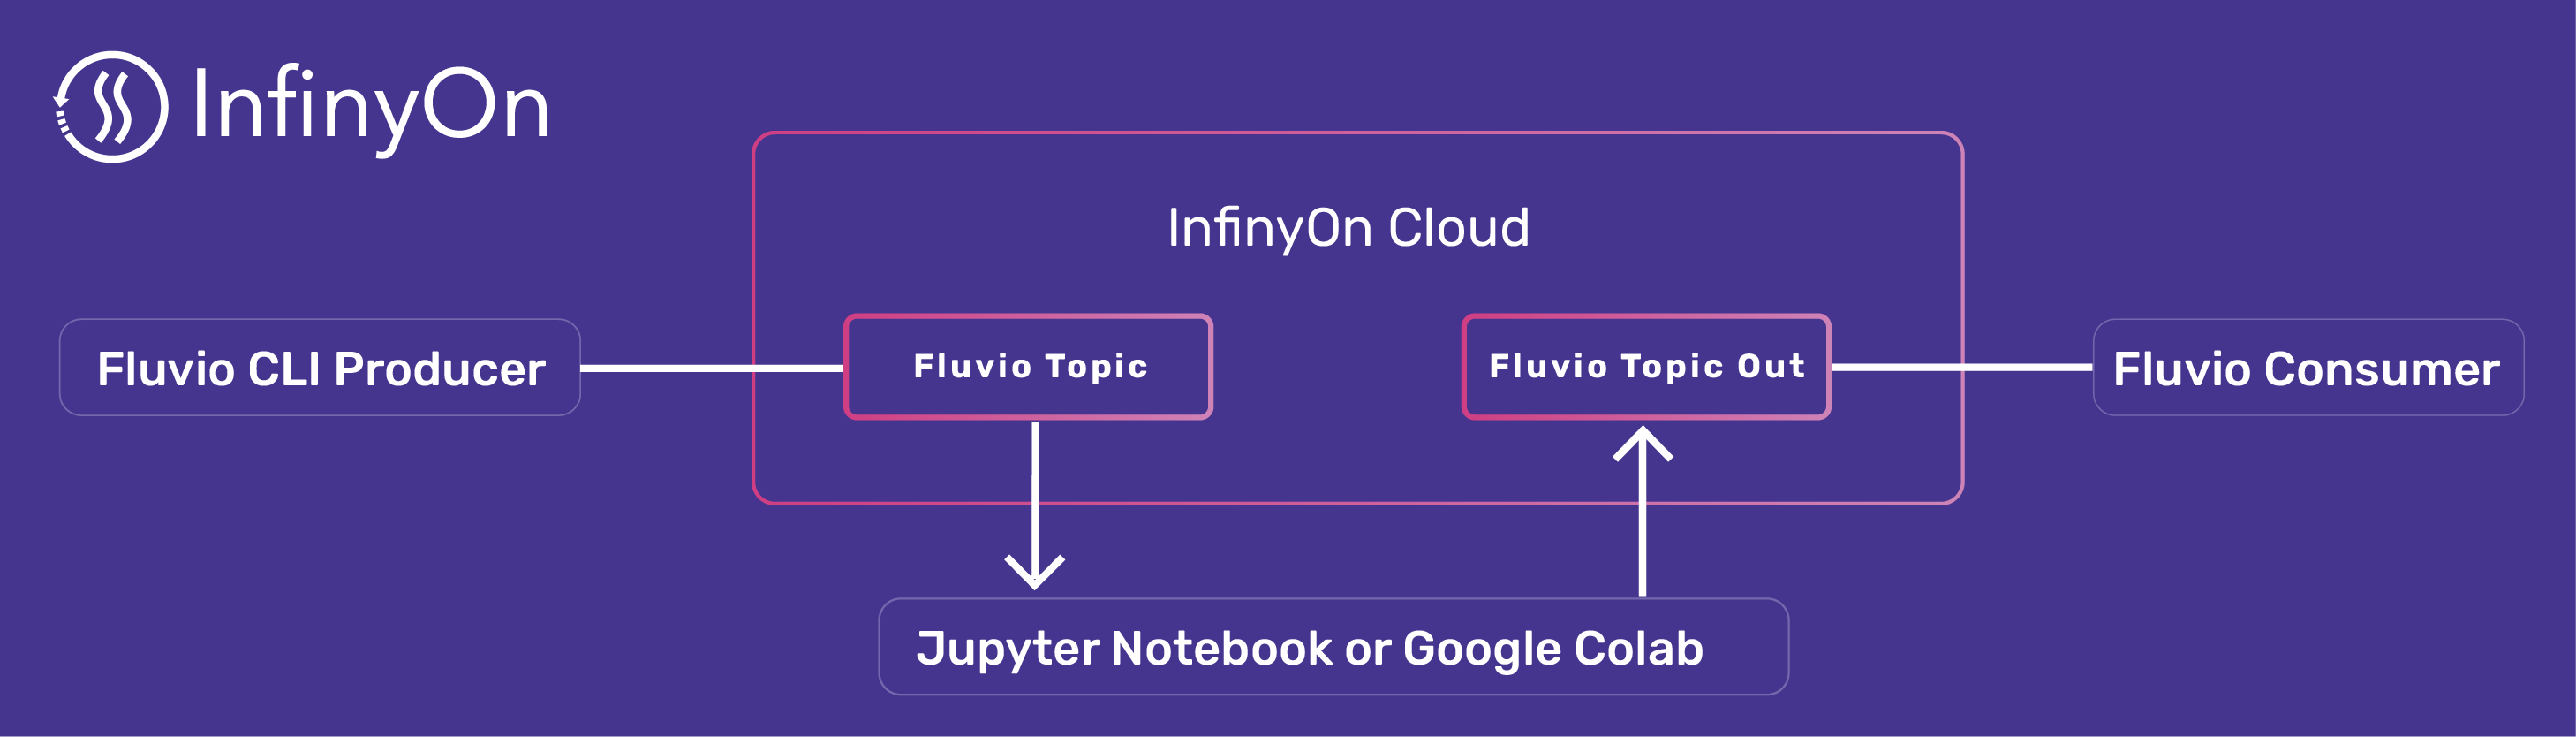
For the past few years, organizations have been adopting real-time streaming services but continue using batch processing for machine learning ML tools and analytics. Using databases and ETL tools as a bridge between real-time and ML adds unnecessary complexity and lengthens the time to resolution. This blog aims to demonstrate that ML tools can interact with real-time streams using Python without needing ETL. You will create an account in InfinyOn Cloud, set up a Jupyter Notebook environment, and write a small script that joins the two. Let’s begin the journey to real-time analytics.
A running example:
Prerequisite
This blog assumes the following:
- An active InfinyOn Cloud Account - follow this tutorial to setup an account and provision a fluivo cluster.
- Familiarity with Google Colab or Jupyter Notebooks.
- An email account with OAuth 2.0 support.
Let’s get started.
Provision Data Streaming topics in InfinyOn Cloud
Install fluvio CLI to manage your cluster in InfinyOn Cloud:
$ curl -fsS https://hub.infinyon.cloud/install/install.sh | bash
This command will download the Fluvio Version Manager (fvm), Fluvio CLI (fluvio) and config files into $HOME/.fluvio, with the executables in $HOME/.fluvio/bin. To complete the installation, you will need to add the executables to your shell $PATH.
Login into your InfinyOn cloud account:
$ fluvio cloud login --use-oauth2
Create a new topic for our streams:
$ fluvio topic create hello-python
Copy below data and save into a data.json file:
{"c":27.55,"d":0.41,"dp":1.5107,"h":27.74,"l":26.15,"o":26.3,"pc":27.14,"t":1668709682}
{"c":27.55,"d":0.41,"dp":1.5107,"h":27.74,"l":26.15,"o":26.3,"pc":27.14,"t":1668709682}
{"c":27.56,"d":0.42,"dp":1.5475,"h":27.74,"l":26.15,"o":26.3,"pc":27.14,"t":1668709710}
{"c":27.56,"d":0.42,"dp":1.5475,"h":27.74,"l":26.15,"o":26.3,"pc":27.14,"t":1668709710}
{"c":27.56,"d":0.42,"dp":1.5475,"h":27.74,"l":26.15,"o":26.3,"pc":27.14,"t":1668709710}
{"c":27.56,"d":0.42,"dp":1.5475,"h":27.74,"l":26.15,"o":26.3,"pc":27.14,"t":1668709710}
{"c":27.56,"d":0.42,"dp":1.5475,"h":27.74,"l":26.15,"o":26.3,"pc":27.14,"t":1668709710}
{"c":27.56,"d":0.42,"dp":1.5475,"h":27.74,"l":26.15,"o":26.3,"pc":27.14,"t":1668709710}
Populate the topic with the records above. For simplicity, we are pre-populate the data stream, but this data could be populated in real-time by an event driven client or connector.
$ fluvio produce hello-python -f data.json
Create output topic using CLI:
$ fluvio topic create hello-python-out
Run in Google Colab
Open Notebook in Google Colab, and follow the instructions:

After running list(lazy) let’s check the resulting stream:
$ fluvio consume hello-python-out -Bd
Consuming records from 'hello-python-out' starting from the beginning of log
{"c": 27.55, "d": 0.41, "dp": 1.5107, "h": 27.74, "l": 26.15, "o": 26.3, "pc": 27.14, "t": 1668709682, "median": 26.72}
{"c": 27.55, "d": 0.41, "dp": 1.5107, "h": 27.74, "l": 26.15, "o": 26.3, "pc": 27.14, "t": 1668709682, "median": 26.72}
{"c": 27.56, "d": 0.42, "dp": 1.5475, "h": 27.74, "l": 26.15, "o": 26.3, "pc": 27.14, "t": 1668709710, "median": 26.72}
{"c": 27.56, "d": 0.42, "dp": 1.5475, "h": 27.74, "l": 26.15, "o": 26.3, "pc": 27.14, "t": 1668709710, "median": 26.72}
{"c": 27.56, "d": 0.42, "dp": 1.5475, "h": 27.74, "l": 26.15, "o": 26.3, "pc": 27.14, "t": 1668709710, "median": 26.72}
{"c": 27.56, "d": 0.42, "dp": 1.5475, "h": 27.74, "l": 26.15, "o": 26.3, "pc": 27.14, "t": 1668709710, "median": 26.72}
{"c": 27.56, "d": 0.42, "dp": 1.5475, "h": 27.74, "l": 26.15, "o": 26.3, "pc": 27.14, "t": 1668709710, "median": 26.72}
{"c": 27.56, "d": 0.42, "dp": 1.5475, "h": 27.74, "l": 26.15, "o": 26.3, "pc": 27.14, "t": 1668709710, "median": 26.72}
Congratulations, you are all set!
In the next section, we’ll go over the setups required to run Jupyter locally.
Run on Local Machine
There are a couple of prerequisites to run Jupyter on your local machine:
Use Conda to create a new environment:
conda create -n fluvio_env python=3.9
Activate the environment:
conda activate fluvio_env
Install jupyter and pandas:
pip install jupyter
pip install pandas
conda install -y matplotlib
Start jupyter notebook:
jupyter notebook
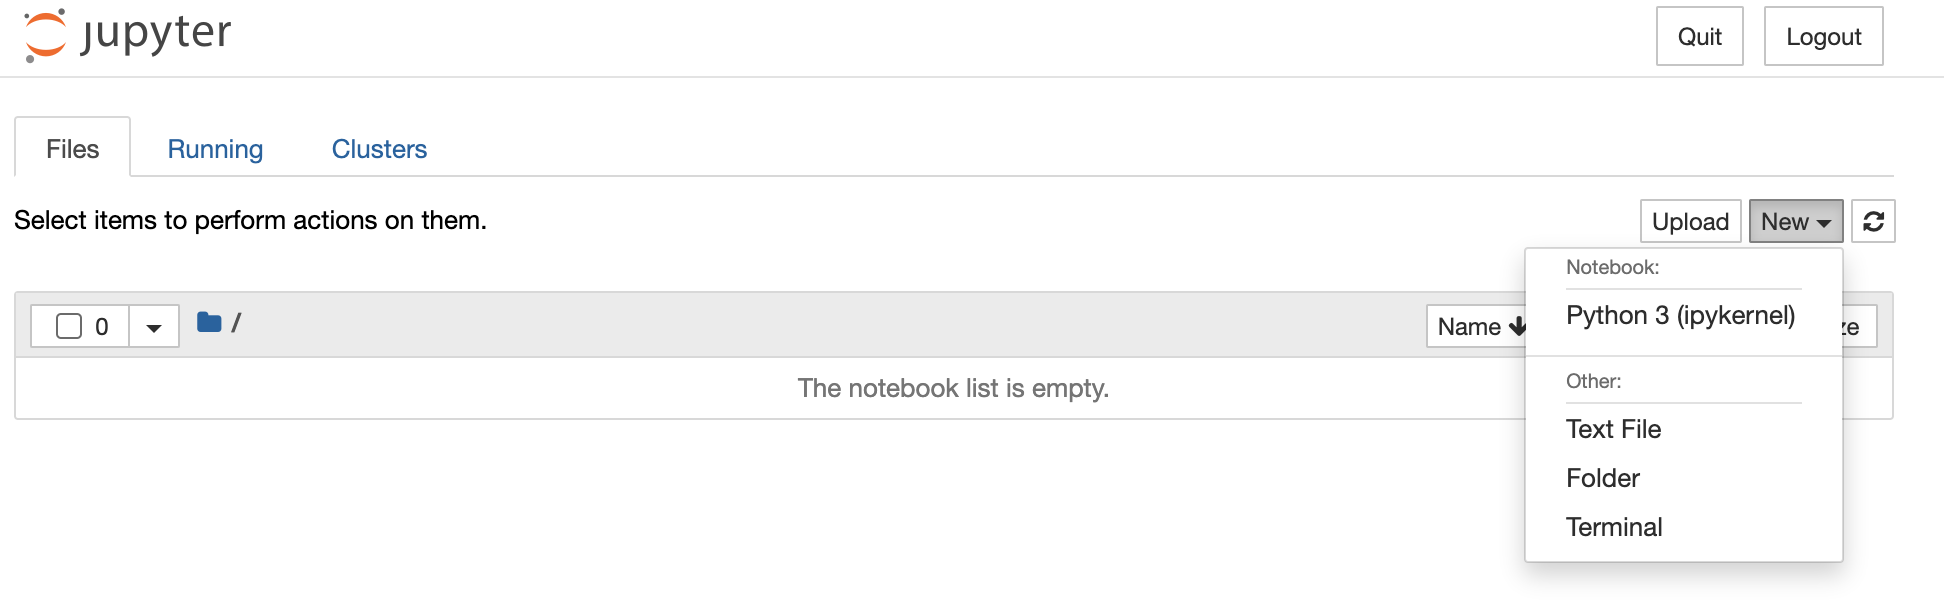
Create a new project:
Next, run the same steps as in Google Colab example above:
!pip install fluvio==0.14.2
Login to InfinyOn cloud, and login using OAuth2 process with Google:
from fluvio import cloud
cloud.login()
Import dependencies:
import json
import itertools
from fluvio import Fluvio, Offset
Connect to hello-python topic in InfinyOn cloud, and create consumer:
TOPIC_NAME = "hello-python"
PARTITION = 0
fluvio = Fluvio.connect()
records=[]
consumer = fluvio.partition_consumer(TOPIC_NAME, PARTITION)
Read the first eight records from the beginning of the data stream:
records = (json.loads(record.value_string()) for record in itertools.islice(consumer.stream(Offset.beginning()), 8))
This line runs instantly because it creates a generator. Generaters are interepreted from right to left:
- Create a stream consumer
- Take a slice of 8 records using
itertools.islice - Turn each record into
jsonbyrecord.value_string()string andjson.loads
Let’s turn the eight records into pandas dataframe using json_normalize:
import pandas
df = pandas.json_normalize(records)
df.plot()
Now you can apply any pandas data transformation or action to the streamed data. For example add column with median:
df['median'] = df.median(numeric_only=True, axis=1)
And if you set offset to read from the end of the stream via Offset.end(), the notebook cell will be locked until you start populating data into the stream.
The next step is to write back data into the stream, and we can do it using lazy using python generators as well. Create output producer:
OUTPUT_TOPIC="hello-python-out"
producer = fluvio.topic_producer(OUTPUT_TOPIC)
Create a lazy producer generator:
lazy = (producer.send_string(json.dumps(i)) for i in df.to_dict("records"))
It runs instantly and it only returns iterable. Evaluate generator:
list(lazy)
Conclusion
In this blog post, we highlighted the significance of streams in contemporary development and emphasized that working with data streams in Python can be straightforward. The example showed how to read, process, and write streams via Python generators to make the process fast and efficient. The code used in the demonstration is available on Google Colab at this link.
Machine learning developers can now bridge their Jupyter notebook experiments with real-time streaming capabilities with ease. So, be sure to join our Discord server if you want to talk to us or have any questions. Until next time!